Simple Vanilla Ice Cream Recipe: No Cream Needed
Indulge in the creamy, velvety goodness of homemade vanilla ice cream without the need for heavy cream. This simple, yet delightful recipe is perfect for satisfying your sweet tooth while keeping your ingredients list minimal and accessible. Let's dive into the world of simple vanilla ice cream, where every scoop is a testament to the power of basic ingredients.
Before we begin, let's address the elephant in the room. Yes, traditional ice cream recipes often call for heavy cream. But what if we told you that you can still enjoy the smooth, rich texture of ice cream using just milk, sugar, and a few other pantry staples? Intrigued? Read on to discover the magic of making vanilla ice cream without cream.
Understanding the Science Behind Creamless Ice Cream
Ice cream's creamy texture comes from a combination of fat and air. In traditional recipes, heavy cream provides the fat. However, in our creamless version, we'll rely on milk's natural fat content and a clever trick to incorporate air, ensuring a smooth and scoopable final product.


One key ingredient in this recipe is cornstarch. When cooked, cornstarch thickens the mixture, helping to stabilize the ice cream and prevent iciness. It also helps to incorporate air, much like egg yolts do in custard-based ice cream recipes. The result? A creamy, luscious ice cream that's surprisingly similar to its cream-laden counterpart.
Choosing the Right Milk
For the best results, opt for whole milk. Its higher fat content contributes to the ice cream's creaminess and helps prevent iciness. While you can use low-fat or non-fat milk, the final product may be less creamy and more prone to freezing solid.


If you're lactose intolerant or prefer a dairy-free version, don't despair. You can use full-fat canned coconut milk as a substitute. The high fat content in coconut milk will provide the creaminess you crave. Just be sure to choose a brand with no added thickeners or gums, as these can affect the final texture.
Mastering the Ice Cream Base
The ice cream base is a simple mixture of milk, sugar, salt, and cornstarch. To make it, whisk together the cornstarch and a small amount of milk in a small bowl until smooth. This step prevents lumps from forming in your ice cream base.
In a medium saucepan, combine the remaining milk, sugar, and salt. Cook over medium heat, stirring occasionally, until the sugar dissolves and the mixture just begins to simmer. Slowly pour in the cornstarch mixture, whisking constantly to prevent clumps. Cook, stirring frequently, until the mixture thickens slightly and coats the back of a spoon. This should take about 2-3 minutes. Remove from heat and let it cool slightly before proceeding with the recipe.


Infusing Flavor: Vanilla and Beyond
Vanilla is the quintessential ice cream flavor, but it's by no means the only option. With this simple recipe as your base, you can experiment with a wide range of flavors, from classic chocolate and strawberry to more exotic combinations like lavender honey or cardamom pistachio.
To infuse vanilla flavor, we'll use a combination of vanilla extract and a vanilla bean. The vanilla bean adds depth and complexity, while the extract ensures a strong, consistent vanilla flavor. If you prefer, you can use an additional teaspoon of vanilla extract in place of the vanilla bean, but keep in mind that the flavor may not be as robust.
Using Vanilla Beans
To use a vanilla bean, first, split it lengthwise using a sharp knife. Scrape out the tiny, fragrant seeds with the back of the knife. Add both the seeds and the pod to the ice cream base. Let the mixture steep for at least 30 minutes, or up to several hours, for maximum vanilla flavor.


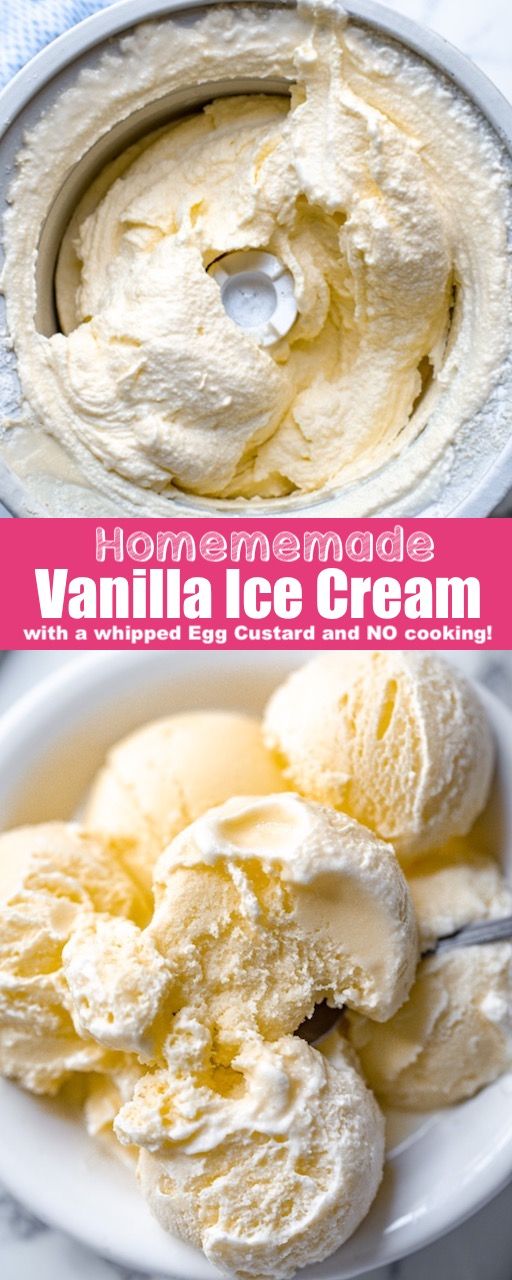

Once you're ready to churn the ice cream, remove the vanilla bean pod and stir in the vanilla extract. If you prefer a more pronounced vanilla flavor, you can increase the extract to 2 teaspoons. Keep in mind that using too much extract can result in a soapy flavor, so it's best to start with the recommended amount and adjust to taste.
Exploring Other Flavors
To create other flavors, simply add your chosen ingredients to the ice cream base after it has cooled. For example, to make chocolate ice cream, dissolve cocoa powder in a small amount of the cooled base, then whisk it back into the mixture. For fruit-based flavors, cook down fresh or frozen fruit with a bit of sugar until it forms a thick compote, then stir it into the chilled base.
You can also add mix-ins like nuts, cookies, or candy. To do this, fold them into the ice cream during the last few minutes of churning, or layer them in the container before freezing for a fun, swirled effect.
Churning and Freezing: The Final Steps
Churning is an essential step in making ice cream, as it incorporates air and creates the ice cream's signature smooth, creamy texture. While an ice cream maker is ideal, it's not strictly necessary. With a bit of patience and some elbow grease, you can achieve excellent results using the plastic bag and ice method.
To churn using an ice cream maker, follow the manufacturer's instructions. In general, you'll pour the chilled ice cream base into the frozen bowl and churn until it reaches the consistency of soft-serve. This usually takes about 20-30 minutes. Transfer the ice cream to an airtight container and freeze for at least 2 hours, or until firm, before serving.
Churning Without an Ice Cream Maker
If you don't have an ice cream maker, don't worry. You can still enjoy homemade ice cream using the plastic bag and ice method. Here's how:
- Pour the chilled ice cream base into a large zip-top bag.
- Place the bag in a larger zip-top bag to prevent leaks. Seal both bags tightly.
- Fill a large bowl with ice and salt. The salt helps to lower the freezing point of the ice, making it colder and more effective at freezing the ice cream.
- Place the inner bag in the ice bath and use your hands to knead and massage the ice cream base, breaking up any frozen chunks and incorporating air.
- Continue kneading for about 10-15 minutes, or until the ice cream reaches the consistency of soft-serve. You may need to add more ice and salt partway through.
- Transfer the ice cream to an airtight container and freeze for at least 2 hours, or until firm, before serving.
Enjoy your homemade vanilla ice cream, guilt-free and without the need for heavy cream. This simple, versatile recipe is perfect for satisfying your sweet tooth while keeping your ingredients list minimal and accessible. So go ahead, indulge in the creamy, velvety goodness, and don't forget to experiment with other flavors to make this recipe truly your own. Happy churning!
Related Articles

French Crepe Recipe: No Eggs Needed
Craving the delightful, thin, and delicate French crepes but trying to avoid eggs? You're in luck! This French crepe recipe without eggs is not only delicious...

Simple False Ceiling Designs: No Lights Needed
In the realm of interior design, false ceilings have become a staple, offering a plethora of benefits such as concealing unsightly pipes, improving acoustics...

Simple Banana Recipes: No Baking Soda Needed
Bananas are a versatile and beloved fruit, perfect for a wide range of recipes. While baking soda is a common leavening agent in many banana-based desserts...

Simple Coconut Cream Dessert Recipe
Indulge in the tropical charm of coconut with this simple, yet delightful coconut cream dessert recipe. Whether you're a seasoned baker or a novice in the...

Oatmeal Cream Pie Recipe: No Molasses, All Flavor
Craving a classic treat but looking to skip the molasses? You're in luck! Our Oatmeal Cream Pie Recipe without Molasses is here to satisfy your sweet tooth...

Easy Vanilla Ice Cream Desserts: Simple Recipes
Indulge in the creamy, velvety goodness of vanilla ice cream with our collection of easy dessert recipes. From classic sundaes to innovative floats, we've...